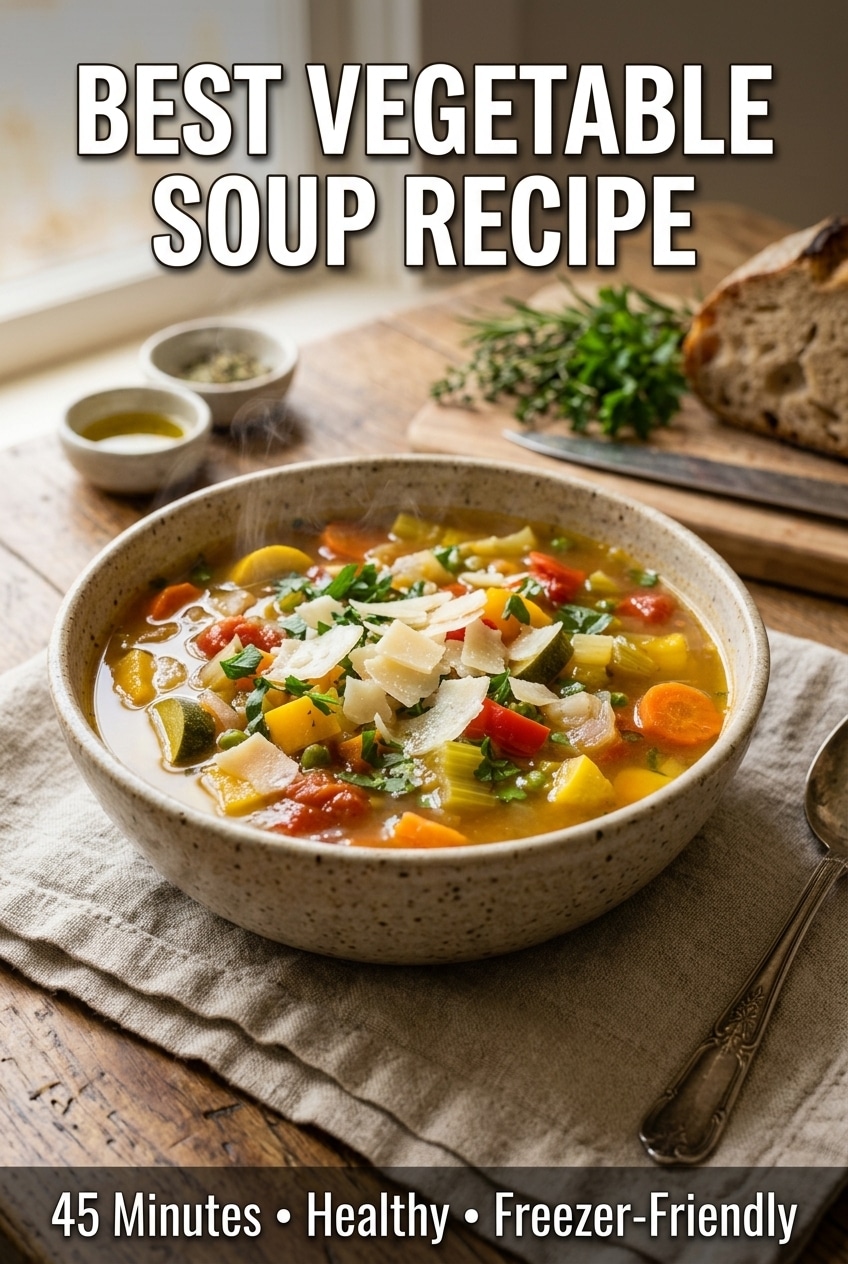
There’s something magical about a pot of vegetable soup simmering on the stove. The aroma alone brings me back to Sunday afternoons at my grandmother’s house, where she’d somehow convince us kids that eating vegetables was the best thing ever. Her secret? This incredibly flavorful vegetable soup recipe that made every spoonful feel like a warm hug.
I’ve spent years perfecting this recipe, and trust me when I say this isn’t your average bland veggie soup. This is the kind that converts vegetable skeptics and has my husband asking for seconds (sometimes thirds!). Whether you’re looking for a healthy weeknight dinner, need to clean out your fridge, or just want something warm and nourishing, this vegetable soup recipe has your back.
The best part? It’s endlessly flexible, budget-friendly, and tastes even better the next day. Let’s dive in!
🌟 What Makes This Vegetable Soup Recipe Different
Listen, I’ve tried countless vegetable soup recipes over the years, and most of them taste like sad, boiled vegetables floating in water. Not this one.
Here’s what sets this recipe apart:
✨ The Secret Ingredient: A touch of tomato paste and a splash of balsamic vinegar at the end create incredible depth and richness that’ll have people asking what your secret is.
✨ Proper Layering Technique: We’re not just dumping everything in at once. Building flavors in stages is what separates restaurant-quality soup from cafeteria soup.
✨ The Right Broth Balance: My game-changing trick uses a combination of vegetable broth and a little soy sauce (yes, really!) for that umami punch.
✨ Texture Perfection: Every vegetable gets added at the perfect time so nothing turns to mush, but everything is tender and delicious.
My family goes crazy for this soup, especially during those chilly months when you need something that feeds both body and soul.
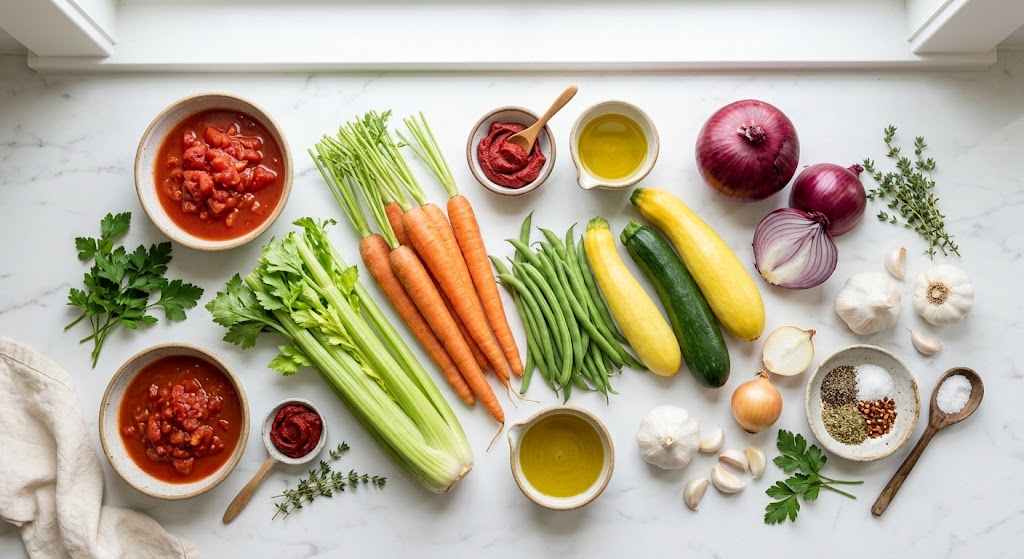
🥕 Ingredients You’ll Need
For the Soup Base:
- 2 tablespoons olive oil (or butter for extra richness)
- 1 large yellow onion, diced (about 1½ cups)
- 3 cloves garlic, minced
- 3 medium carrots, peeled and sliced into ¼-inch rounds
- 3 celery stalks, chopped
- 2 tablespoons tomato paste (this is the secret!)
- 6 cups vegetable broth (low-sodium preferred)
- 1 can (14.5 oz) diced tomatoes with their juices
- 1 bay leaf
- 1 teaspoon dried thyme (or 3 fresh sprigs)
- 1 teaspoon dried oregano
For the Vegetables:
- 2 medium Yukon gold potatoes, diced into ½-inch cubes
- 1 medium zucchini, halved lengthwise and sliced
- 1 cup green beans, trimmed and cut into 1-inch pieces
- 1 cup frozen or fresh corn kernels
- 2 cups roughly chopped kale or spinach (stems removed)
For Seasoning & Finishing:
- 1 tablespoon soy sauce or tamari (trust me on this!)
- 1 tablespoon balsamic vinegar (the game-changer)
- Salt and black pepper to taste
- Fresh parsley, chopped for garnish
- Parmesan cheese for serving (optional)
Substitution Ideas:
Out of something? No worries!
- Carrots → Parsnips or sweet potato
- Green beans → Frozen peas or edamame
- Kale → Any leafy green (spinach, chard, collards)
- Vegetable broth → Chicken broth for non-vegetarian version
- Fresh herbs → Use Italian seasoning blend
- Potatoes → Cauliflower florets for low-carb option
👩🍳 Step-by-Step Instructions
Step 1: Build Your Flavor Base (The Foundation)
Heat the olive oil in a large soup pot or Dutch oven over medium heat. Once shimmering, add the diced onion and cook for about 5 minutes, stirring occasionally, until it becomes soft and translucent.
Here’s a pro tip I learned in culinary school: don’t rush this step. Those first few minutes of cooking the onion properly set the entire flavor foundation. You want them soft and sweet, not browned or burnt.
Add the minced garlic and stir constantly for about 30 seconds until fragrant. Be careful—garlic burns quickly and bitter burnt garlic will ruin your soup!
Step 2: The Tomato Paste Magic
Push the onion and garlic to one side of the pot and add the tomato paste to the cleared space. Let it cook undisturbed for about 1 minute. This technique is called “blooming” and it caramelizes the tomato paste, removing any raw or metallic taste while deepening the flavor incredibly.
Stir the tomato paste into the onion mixture until everything is well combined.
Step 3: Add Your Hardy Vegetables
Toss in the carrots and celery. Sauté for about 5 minutes, stirring occasionally. These vegetables take longest to cook, so they get a head start. This also allows them to absorb some of that beautiful flavor base you’ve created.
Step 4: Build Your Broth
Pour in the vegetable broth, diced tomatoes (with all their juices), bay leaf, thyme, and oregano. Give everything a good stir.
Now add that secret ingredient—the tablespoon of soy sauce. I know it sounds unusual in vegetable soup, but it adds this incredible savory depth that makes people think you’ve been cooking all day.
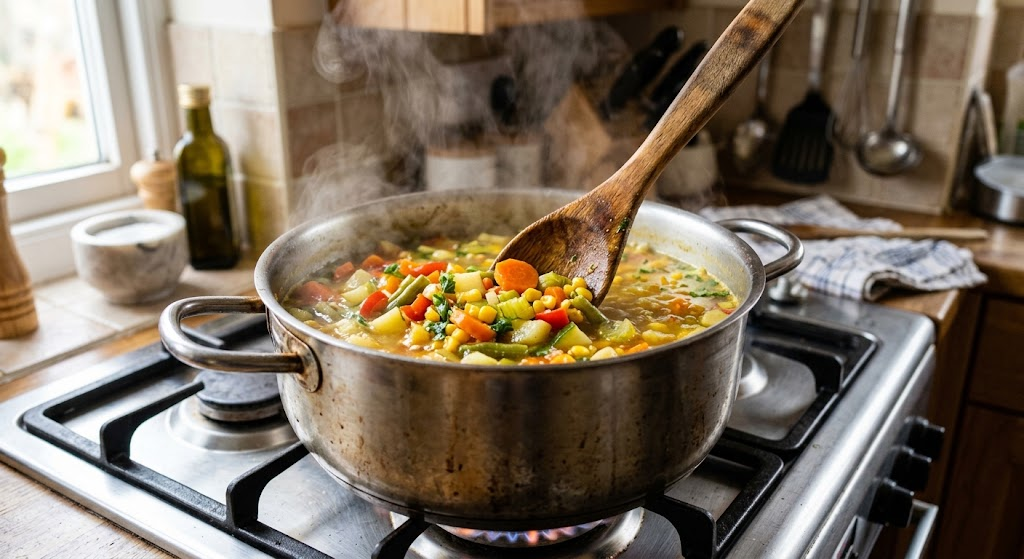
Bring the soup to a boil, then reduce heat to medium-low and let it simmer gently.
Step 5: Stagger Your Vegetables (Timing is Everything!)
After the soup has simmered for 10 minutes, add the diced potatoes. They need about 10 minutes to become tender but not mushy.
Wait another 5 minutes, then add the green beans and zucchini. These cook faster, so they go in later.
After 3 more minutes, stir in the corn and chopped kale or spinach. The greens literally need just a couple of minutes to wilt perfectly.
Total simmering time: About 20-25 minutes from the time you added the broth.
Step 6: The Finishing Touch
Remove the bay leaf (very important—they’re not meant to be eaten!).
Here comes my absolute favorite moment: stir in that tablespoon of balsamic vinegar. I learned this trick from an Italian chef, and it’s what makes this vegetable soup recipe absolutely sing. The acidity brightens all the flavors and adds a subtle complexity that’s hard to pinpoint but impossible to resist.
Taste and season generously with salt and freshly ground black pepper. Soups need more salt than you think—don’t be shy!
🎯 Pro Tips & Chef Secrets
1. Don’t Skip the Sauté: I cannot stress this enough. Sautéing your aromatics and tomato paste first creates layers of flavor that simply dumping everything in together can’t achieve. Those extra 10 minutes are worth it!
2. Cut Vegetables Uniformly: Take an extra moment to cut your veggies roughly the same size. This ensures everything cooks evenly, and there’s nothing worse than mushy carrots next to crunchy potatoes.
3. The Parmesan Rind Trick: If you have a Parmesan cheese rind sitting in your fridge (I always save mine!), throw it into the soup while it simmers. It adds unbelievable umami richness. Just remember to fish it out before serving!
4. Season in Stages: Season lightly at the beginning, then taste and adjust at the end. As the soup reduces, flavors concentrate, so what tastes perfect at the start might become too salty by the end.
5. Make It Ahead: This soup actually tastes BETTER the next day after the flavors have married. Make it Sunday for easy weekday lunches!
6. Freezer-Friendly Secret: If you’re planning to freeze this soup, slightly undercook the vegetables. They’ll finish cooking when you reheat, preventing that mushy frozen-vegetable texture.
🔄 Variations & Customizations
Mediterranean Style
Add chickpeas, swap zucchini for eggplant, include a handful of orzo pasta, and finish with fresh lemon juice and dill instead of balsamic vinegar.
Tuscan Vegetable Soup (My Personal Favorite!)
Include white beans, add fresh rosemary, use more kale, and serve with crusty bread rubbed with garlic.
Asian-Inspired Veggie Soup
Use sesame oil instead of olive oil, add ginger with the garlic, include bok choy and mushrooms, swap soy sauce for two tablespoons, and finish with a drizzle of sesame oil.
Creamy Vegetable Soup
Blend 2 cups of the finished soup until smooth, then stir it back in for a naturally creamy texture without any cream! Alternatively, stir in ½ cup of heavy cream or coconut milk at the end.
Minestrone Style
Add cooked pasta (ditalini or small shells), include white beans, and top with fresh basil and lots of Parmesan.
Low-Carb/Keto Version
Skip the potatoes and corn. Add more leafy greens, cauliflower, and increase the zucchini. The result is still hearty and satisfying!
Protein-Packed Version
Stir in cooked chicken, turkey sausage, or white beans during the last few minutes of cooking for a complete meal-in-a-bowl.
🍽️ Serving Suggestions
This vegetable soup recipe is incredibly versatile, but here are my favorite ways to serve it:
Classic Comfort Style:
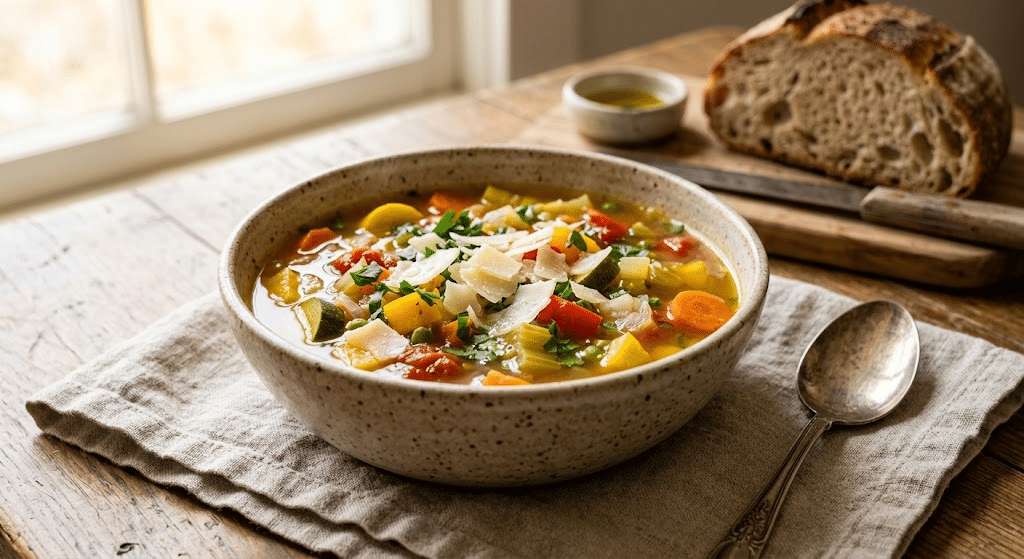
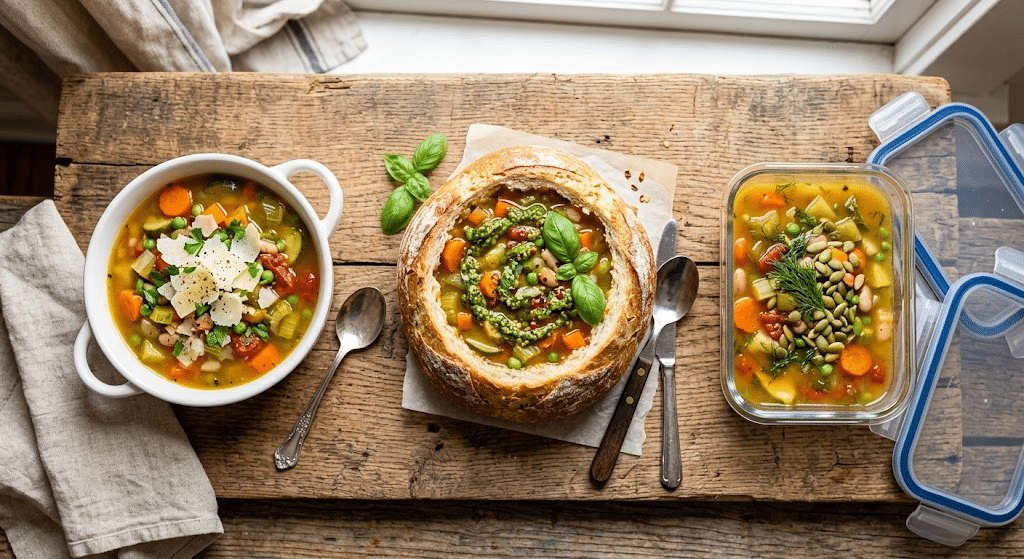
Ladle into deep bowls and top with freshly grated Parmesan cheese, a drizzle of good quality olive oil, and crusty bread on the side for dunking. Heaven!
Meal Prep Bowls:
Pack into individual containers with a sprinkle of cheese. Grab-and-go lunches never looked so good! These last beautifully in the fridge for up to 5 days.
Dinner Party Presentation:
Serve in bread bowls for a show-stopping presentation. Your guests will be incredibly impressed, and you’ll know it only took 45 minutes!
Family Dinner:
Pair with grilled cheese sandwiches for the ultimate comfort food combination. My kids literally cheer when they see this combo for dinner.
Light Lunch:
Serve a smaller portion with a simple side salad dressed in lemon vinaigrette for a refreshing, light meal.
Garnish Ideas to Elevate Your Bowl:
- Fresh herbs (parsley, basil, dill)
- Shaved or grated Parmesan
- Drizzle of pesto
- Dollop of sour cream or Greek yogurt
- Croutons for crunch
- Red pepper flakes for heat
- Squeeze of fresh lemon juice
📦 Storage & Reheating Instructions
Refrigerator Storage:
Let the soup cool completely, then transfer to airtight containers. It will keep beautifully for 4-5 days in the refrigerator. Honestly, it tastes even better on day two or three after the flavors have had time to develop!
Freezer Storage:
This vegetable soup recipe is incredibly freezer-friendly! Cool completely, then portion into freezer-safe containers or heavy-duty freezer bags. Freeze for up to 3 months.
Pro tip: I like to freeze in 2-cup portions in quart-sized freezer bags laid flat. They stack beautifully and thaw quickly!
Reheating Instructions:
From Refrigerated:
- Stovetop: Transfer to a pot and heat over medium heat, stirring occasionally, until heated through (about 5-7 minutes).
- Microwave: Heat in a microwave-safe bowl in 1-minute intervals, stirring between each, until hot.
From Frozen:
- Stovetop (best method): Place frozen soup in a pot with a splash of water or broth. Heat over medium-low, breaking apart gently as it thaws, until completely heated through (15-20 minutes).
- Microwave: Defrost setting first, then heat in intervals.
- Quick thaw: Transfer to fridge the night before you want to eat it.
Reheating Tip: The soup may thicken after refrigeration. Simply add a splash of vegetable broth or water while reheating to reach your desired consistency.
📊 Nutritional Information (Per Serving)
Based on 8 servings, without optional toppings
| Nutrient | Amount |
|---|---|
| Calories | 145 |
| Total Fat | 4g |
| Saturated Fat | 0.5g |
| Cholesterol | 0mg |
| Sodium | 520mg* |
| Total Carbohydrates | 25g |
| Dietary Fiber | 5g |
| Sugars | 7g |
| Protein | 4g |
| Vitamin A | 120% DV |
| Vitamin C | 35% DV |
| Calcium | 8% DV |
| Iron | 12% DV |
Note: Sodium content varies based on broth used. Use low-sodium broth to reduce further.
Health Benefits:
- ✅ High in fiber for digestive health
- ✅ Loaded with vitamins and antioxidants
- ✅ Low in calories but super filling
- ✅ Naturally vegan and gluten-free
- ✅ Anti-inflammatory ingredients
- ✅ Supports immune system
❓ Frequently Asked Questions (FAQ)
Can I use frozen vegetables for this soup?
Absolutely! Frozen vegetables work wonderfully in this vegetable soup recipe. In fact, they’re often flash-frozen at peak ripeness, so they’re incredibly nutritious. Just add them directly to the soup without thawing, and reduce the cooking time slightly since frozen veggies are usually pre-blanched. I particularly love using frozen green beans and corn—such a time-saver!
How can I make this soup more filling?
Great question! While this soup is surprisingly satisfying on its own, you can easily boost the heartiness by adding:
- Cooked pasta or rice (stir in during the last 5 minutes)
- Canned beans (white beans, chickpeas, or kidney beans)
- Cooked quinoa for extra protein
- Diced chicken or turkey for meat-eaters
- Lentils (add with the potatoes so they have time to cook)
My go-to is adding a can of white beans—it transforms this into a complete meal!
My soup turned out watery. How do I fix it?
No worries—this is an easy fix! Here are several solutions:
- Simmer uncovered for an additional 10-15 minutes to reduce the liquid
- Mash some of the potatoes against the side of the pot to release their starch, which naturally thickens the soup
- Add a slurry: Mix 1 tablespoon cornstarch with 2 tablespoons cold water, stir into the soup, and simmer for 3 minutes
- Blend a portion: Scoop out 2 cups of soup, blend until smooth, and stir it back in
Can I make this in a slow cooker or Instant Pot?
Slow Cooker Method:
After sautéing the onions, garlic, and tomato paste on the stovetop (this step is important!), transfer everything to your slow cooker. Add all vegetables except the greens. Cook on LOW for 6-8 hours or HIGH for 3-4 hours. Add the greens in the last 15 minutes, then stir in the balsamic vinegar before serving.
Instant Pot Method:
Use the sauté function for the initial aromatics and tomato paste. Add broth, harder vegetables, and seasonings. Pressure cook on HIGH for 5 minutes, then quick release. Switch back to sauté, add the quick-cooking veggies and greens, simmer for 3-4 minutes, and finish with balsamic vinegar.
What’s the best broth to use?
I’ve tested this recipe with many broths, and here’s my honest take:
- Homemade vegetable broth: Absolute best flavor, but time-consuming
- Store-bought low-sodium vegetable broth: My everyday choice (Better Than Bouillon is fantastic!)
- Chicken broth: Makes it non-vegetarian but adds great flavor
- Bone broth: Adds extra nutrition and richness
- Bouillon cubes: Work in a pinch; use low-sodium and adjust salt accordingly
Whatever you choose, go for low-sodium so you can control the salt level yourself!
How do I prevent vegetables from getting mushy?
This is all about timing! The key is to add vegetables in stages based on how long they take to cook:
- Longest cooking (add first): Carrots, celery, potatoes
- Medium cooking (add midway): Green beans, zucchini
- Quick cooking (add last): Leafy greens, corn, peas
Also, don’t overcook! The vegetables should be tender but still have a slight bite. They’ll continue cooking in the hot broth even after you turn off the heat.
Is this soup good for meal prep?
YES! This is one of my absolute favorite meal prep recipes. In fact, I make a double batch every couple of weeks. The soup stays fresh in the fridge for 4-5 days and actually tastes better after a day as the flavors meld together. I portion it into individual containers for grab-and-go lunches. It’s also freezer-friendly for up to 3 months, which means you can always have homemade soup ready when you need it!
💭 Final Thoughts
There you have it—my absolute favorite vegetable soup recipe that never fails to bring comfort and joy to our dinner table. This isn’t just another recipe; it’s become a staple in my kitchen, especially during those busy weeks when I need something nutritious, delicious, and actually exciting to eat.
What I love most about this soup is how forgiving it is. Forgot an ingredient? Substitute it. Want to add more vegetables? Go for it! This recipe has become my kitchen canvas, and I encourage you to make it your own too.
I’d love to hear from you! After you make this vegetable soup recipe, come back and let me know how it turned out. Did you add your own twist? What did your family think? Drop a comment below—I read every single one and often get my best recipe ideas from your suggestions!
Don’t forget to:
- ⭐ Rate this recipe below
- 📸 Share your soup pics on Instagram and tag me @YourFoodBlog
- 📌 Pin this recipe for later
- 💌 Share with a friend who needs some veggie love in their life
Happy cooking, and here’s to many cozy bowls of this incredible soup! 🥣